.svg)

This guide walks you step by step through setting up your Top Road account. Before you begin, make sure you’re using a laptop or desktop computer with Google Chrome as you’ll need to install the required Chrome browser extension during setup.
Step 1: Select a Plan
To set up a free account, go to the Top Road website and select Get Started or Join Free under Pricing & Plans.
For a paid plan, go to Pricing & Plans and select Join Pro or Join Business. You’ll be taken to a Stripe checkout page to complete payment. Once payment is complete, you’ll be redirected back to the Top Road homepage—click Log In to continue.

Step 2: Log In
After clicking Get Started or Log In, you’ll be prompted to sign in using either your email address (with email verification) or your Google account.
Tip 1# login using the email address that you prefer to receive all notifications related to your account and your custom GPTs. It does not have to be the same as your ChatGPT account.
Tip #2 If you’re on a paid plan, you must log in using the same email address used for Stripe billing. If you need separate billing and account emails, contact support@toproad.ai for help.

Step 3: Install GPT Tools Chrome Extension
Next, you’ll be asked to install the GPT Tools Extension from the Chrome Web Store so please make sure you are using a Chrome browser on your laptop or desktop and allow popups.
This step is required to set up your Top Road account because it:
- Automatically syncs your GPTs to the Top Road dashboard
- Verifies ownership of your custom GPTs
- Tracks chat count, growth, and ratings for each GPT


To access the GPT Tools Chrome Extension again in the future, click on the puzzle icon in the top-right corner of your browser to open your list of extensions and select GPT Tools. Alternatively, click the 'Pin' icon so it is always visible in the top right.

Step 4: Scan GPTs
Once the GPT Tools Extension is installed, the next step is scanning for your GPTs from your ChatGPT account.
When you click 'Scan my GPTs', it should automatically open up chatgpt.com in a new tab. If it does not, you can manually sync by clicking the GPT Tools browser extension (click on the pinned GPT Tools icon, or click on the puzzle icon in the top-right corner of your browser to open your list of extensions and select GPT Tools) and click “Refresh.”
Please note you will not be able to progress from this screen until GPTs have been successfully synced from your ChatGPT account.

Step 5: Log In to ChatGPT
The next step is logging into ChatGPT, so that the GPT Tools Chrome browser extension can start syncing.
Do not close the tab while the browser extension is running. If you have many GPTs, this may take a few minutes.


Step 6: Dashboard Homepage
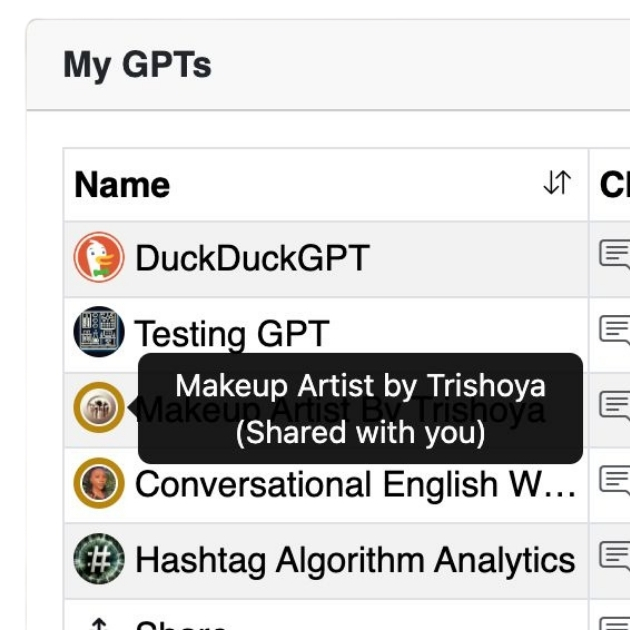
Once your GPTs are synced from ChatGPT, your dashboard will display all your public custom GPTs—those available to anyone with the URL or published in the OpenAI GPT Store.

Step 7: Install GPT Tools
You can now choose to install GPT Tools to any of your GPTs which enables you to add a paywall, collect emails in lead generation mode or collect analytics only. You will be guided through a step by step installation process, but if you want a heads up, check out this video tutorial so you know what to expect. There is no coding involved.

You are now officially set up! If you run into any issues, please contact us so we can assist.